
xr/studio Documentation
Getting Started
Set up your account, create a workspace, and build your first story in xr/studio.
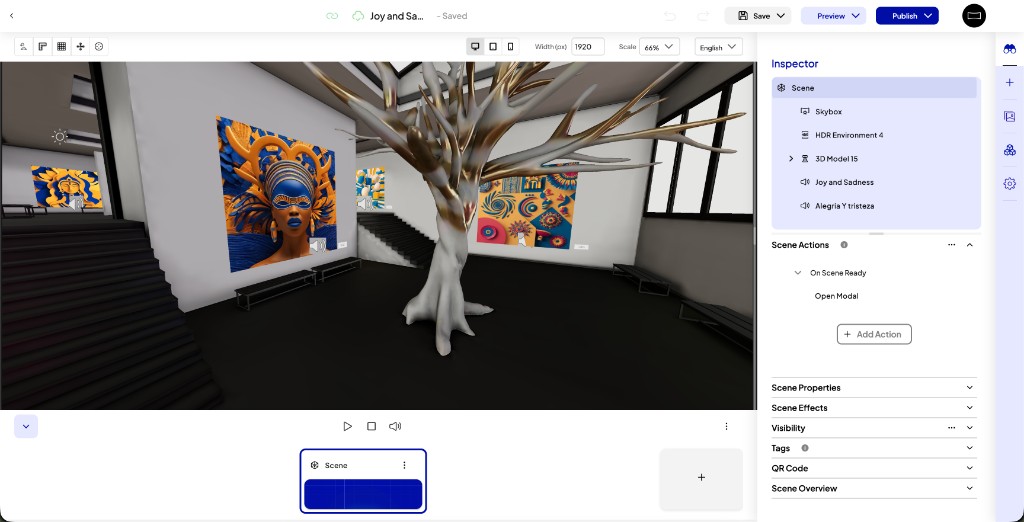
What is xr/studio?
xr/studio is a browser-based editor for creating immersive XR experiences (3D scenes, 360° virtual tours, interactive stories, and more) without writing code. You publish once and your experience runs on phones, tablets, desktops, smart TVs, and VR/AR headsets, all from a link.
Work is organised in Workspaces and Stories. A Story contains one or more Scenes. Everything you publish lives at a shareable URL.
Create your account
Go to cyango.com and sign in with email, Google, or Facebook. Verify your email when prompted.
- Visit cyango.com and click Sign Up.
- Enter your email or sign in with a social account.
- Check your inbox and verify your email address.
Workspace
Cyango creates a workspace for you automatically when you register. You do not need to create one before building your first story.
A Workspace is your team's shared space. All stories, assets, prefabs and more belong to the workspace.
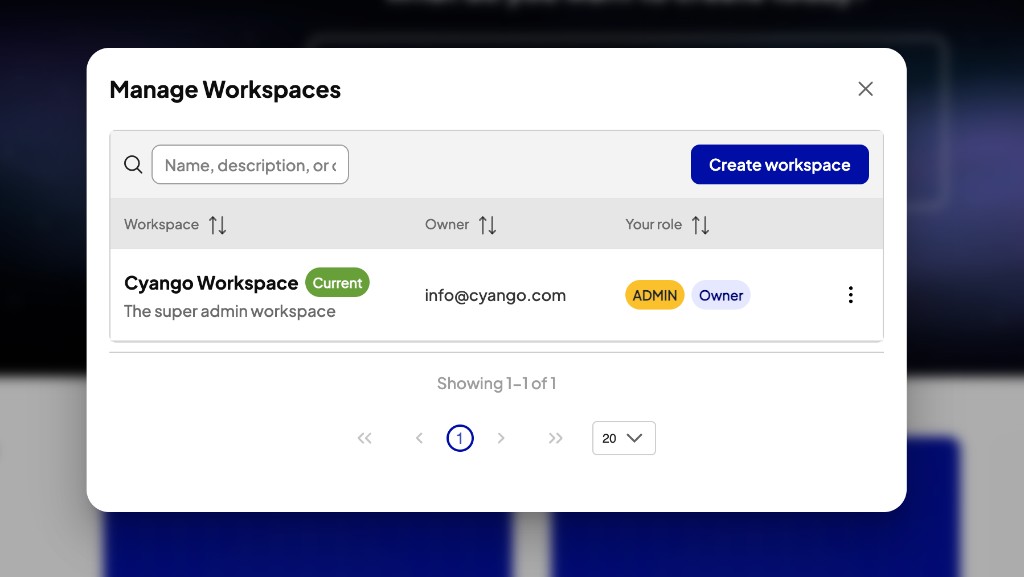
If you want to add extra workspaces (when your plan and permissions allow):
- Click the button in the top bar that shows your workspace name to open the Manage Workspaces modal.
- Click Create workspace, enter a name (and optional description), then confirm.
- Invite teammates if needed from the workspace row menu: paste their email and pick a role.
Create your first story
A Story is a published XR experience. Think of it as a project: it holds your scenes, settings, and publish options.
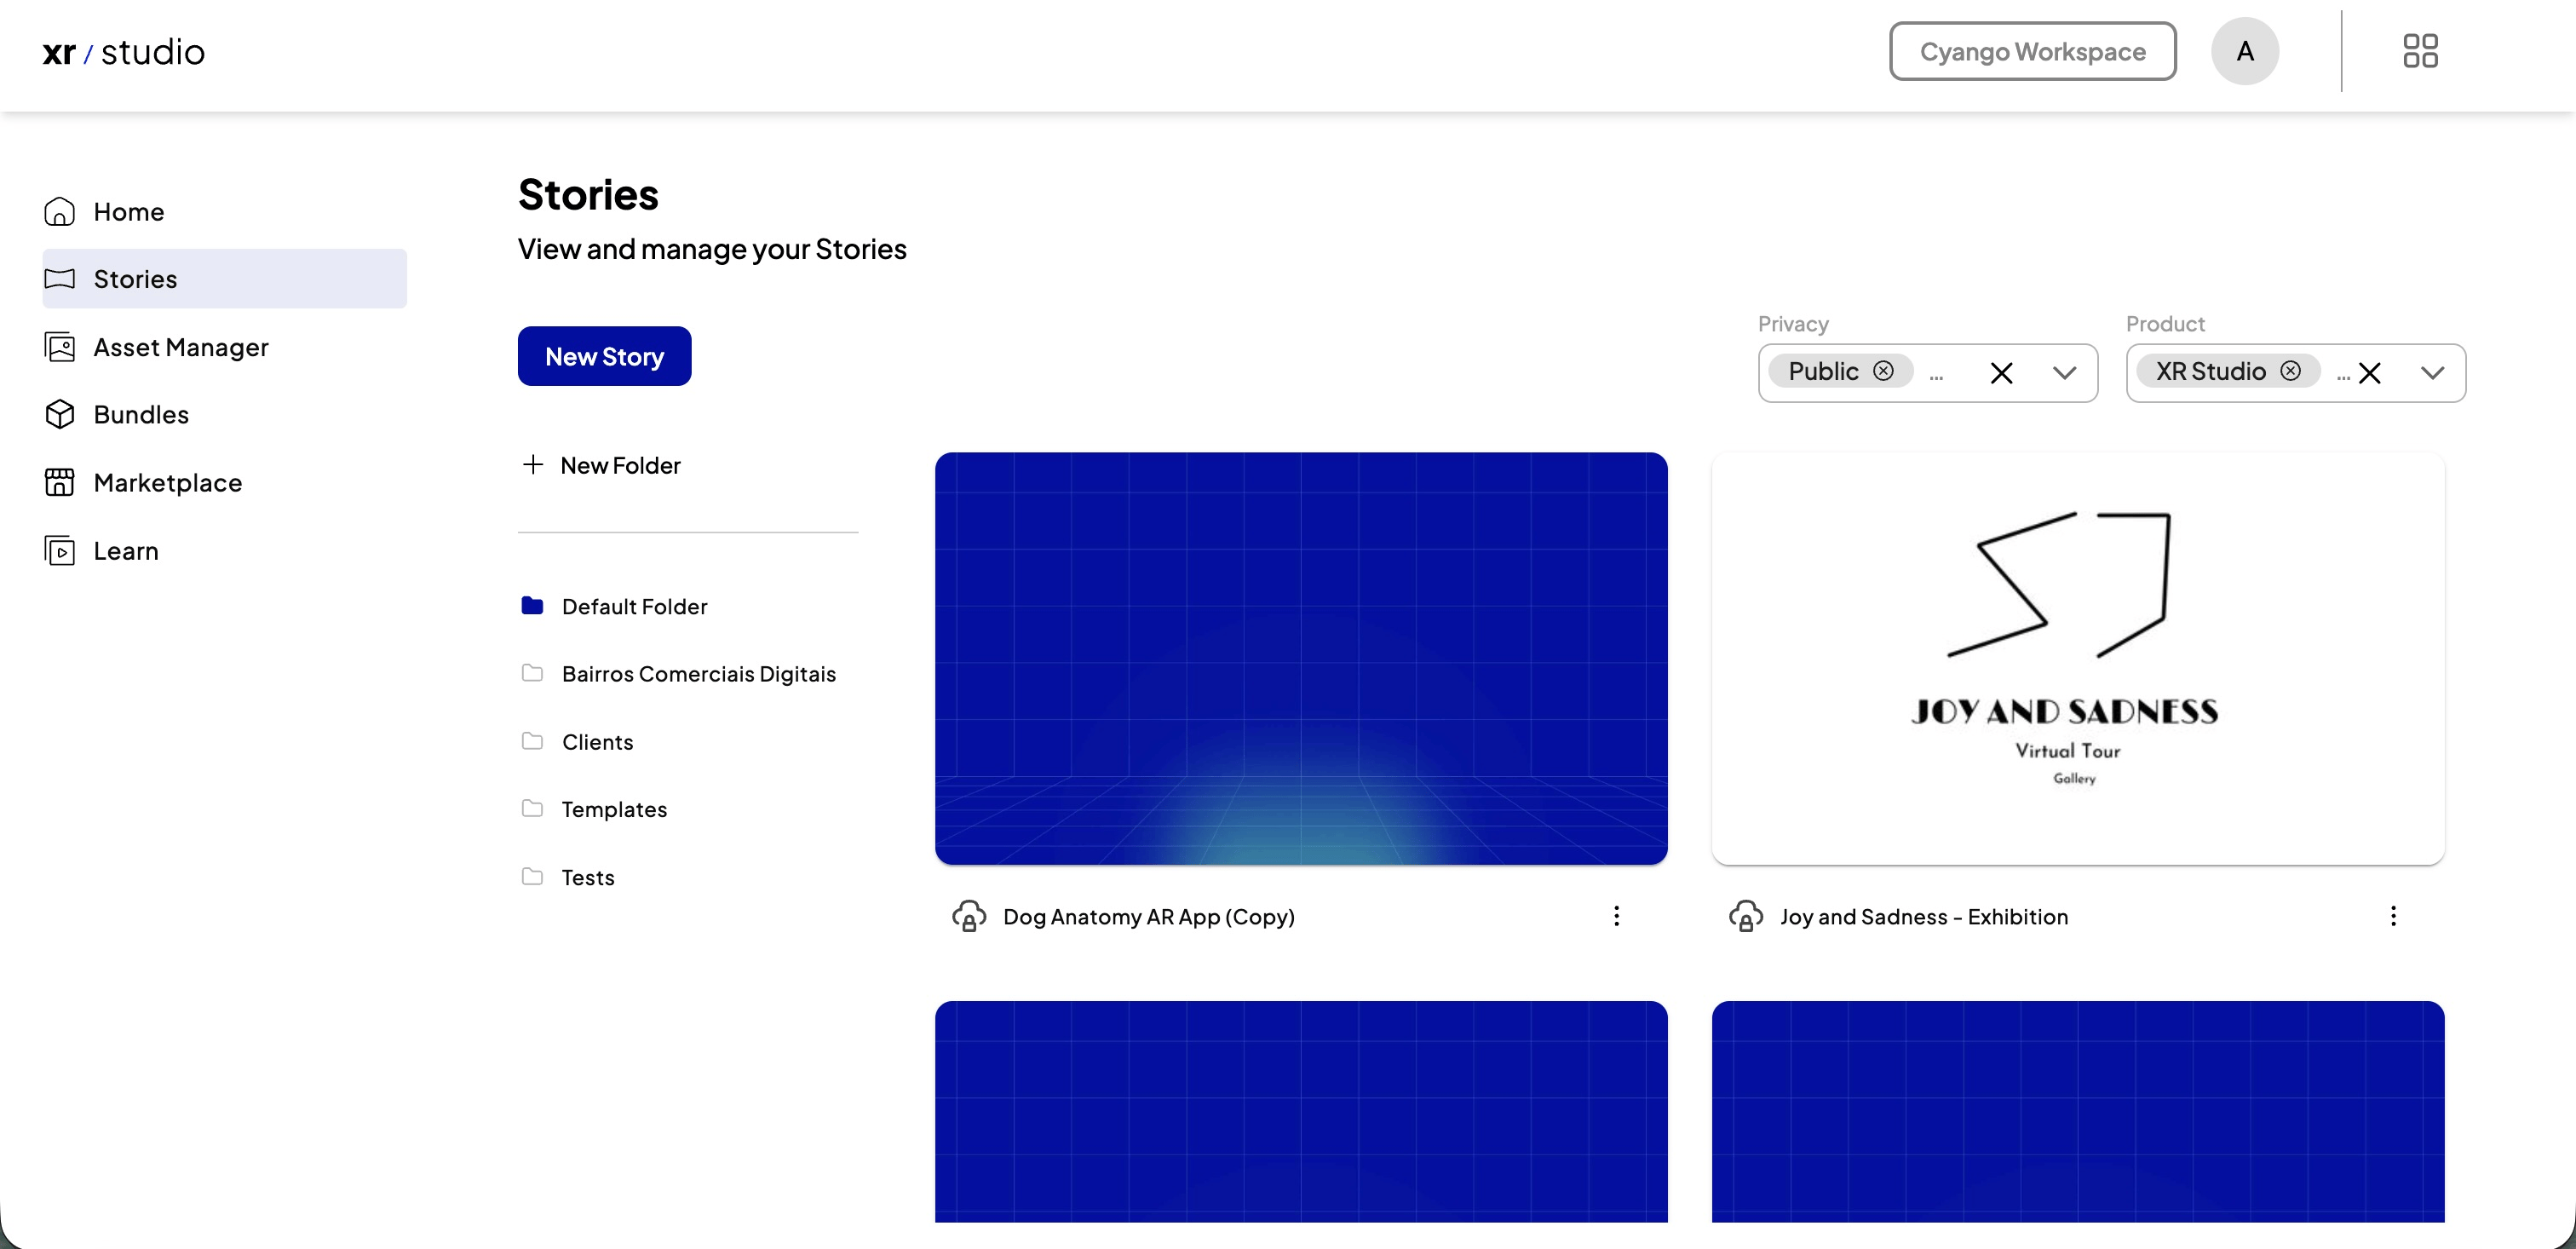
- Inside the workspace, go to Stories. Optionally click + New Folder, name it, and press Enter.
- Click New Story.
- Choose a template (and complete any further steps in the dialog, such as story name) and click Create. Studio opens the editor.
Next steps
Once the editor is open, read Core Concepts to understand how everything fits together, then jump into Editor Basics to start building.